This is the forum archive of Homey. For more information about Homey, visit the Official Homey website.
The Homey Community has been moved to https://community.athom.com.
This forum is now read-only for archive purposes.
The Homey Community has been moved to https://community.athom.com.
This forum is now read-only for archive purposes.
[HOW-TO] Selfsigned certificates with MQTT Broker for Homey
 MennoVanGrinsven
Member
MennoVanGrinsven
Member
Selfsigned certificates
With the MQTT broker for Homey it is possible to generate selfsigend certificates to enable TLS connections. Using offically signed certificates is always better, but not everybody knows how to do this and even with a service like Letsencrypt it is still difficult to do so without having a running HTTP server that is connected to the internet.
Generating a selfsigned certificate is very easy with the MQTT Broker for Homey. After you have installed the MQTT Broker for Homey from the App Store, go to the settings page an go to the Session Settings. On that page check the Generate a selfsigned certificate checkbox.
In the CommonName field enter the DNS name where your Homey resolves to (or use the internet IP adress). As default the Days Valid field is set to 365 days. That means that the certificate will be valid for 365 days. After 365 days you will need to generate a new one.
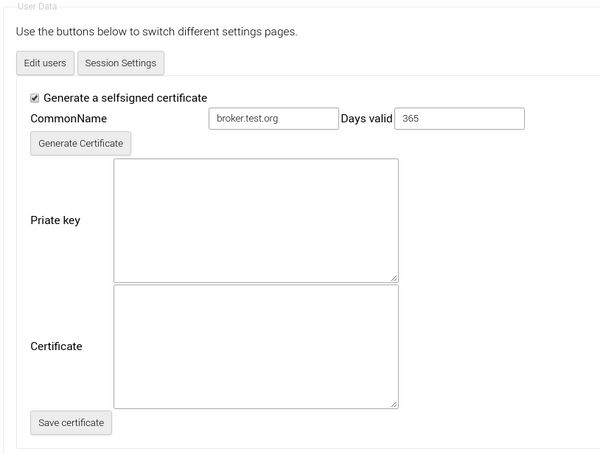
After entering the CommonName field, just press the Generate Certificate button to start generating the selfsigned certificates. Please be patient because it can take up to 30 seconds (or more) until the generation has been completed.
Once generation has been completed, you will see the Private key and Certificate text boxes filled with data:
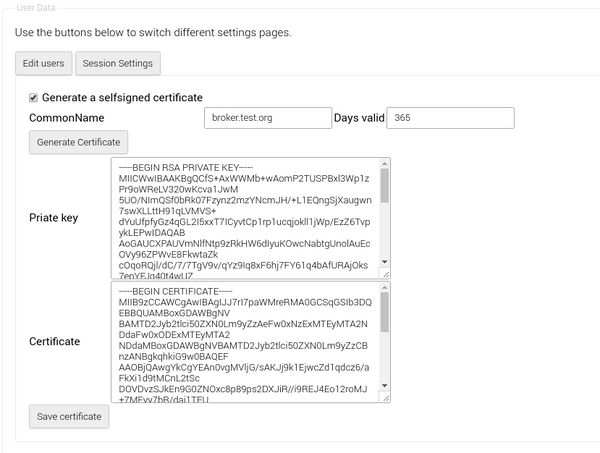
After the text boxes are filled, the generation process has finished. Press the Save certificate button to save them the the internal storage of homey.
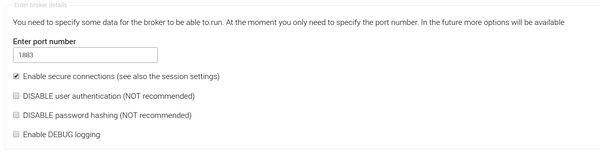
Make sure you have enabled TLS also:
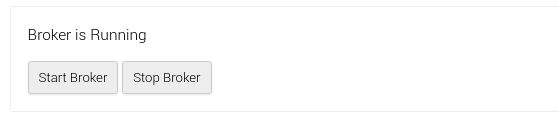
The secure connection will be available once you Stop en Start the Broker again:
Please enable Selfsigned certificates in apps like the Owntracks client and MQTT client if you use them.
Comments
You need to do the following steps:
1. Go to the settings page of the MQTT Broker for Homey.
2. Go to the Session Settings tab
3. Select the contents of the Certificate field and copy that.
4. Paste the contents in a text editor and save it with the extension PEM
5. Put the file on your phone
6. Go to the settings of the owntracks app on your phone
7. Go to the security sections
8. Press CA Certificate, press select and select the PEM file you copied to your phone
9. Confirm
10. Secure communication should be working.
Because I have a commit pending that gives you the generated public key.
I am a bit busy lately so it can take a while before I am able to answer.